
Phaser 4 Pseudo 3D 레이싱 게임 - 차량 스프라이트를 도로에 붙이기
Apex Seoul의 approved 128px 차량 스프라이트를 런타임에 연결하고, 조향 3way, 고저차 접지감, 주행 telemetry, silhouette shadow pass로 실제 게임 화면에서 검증했습니다.
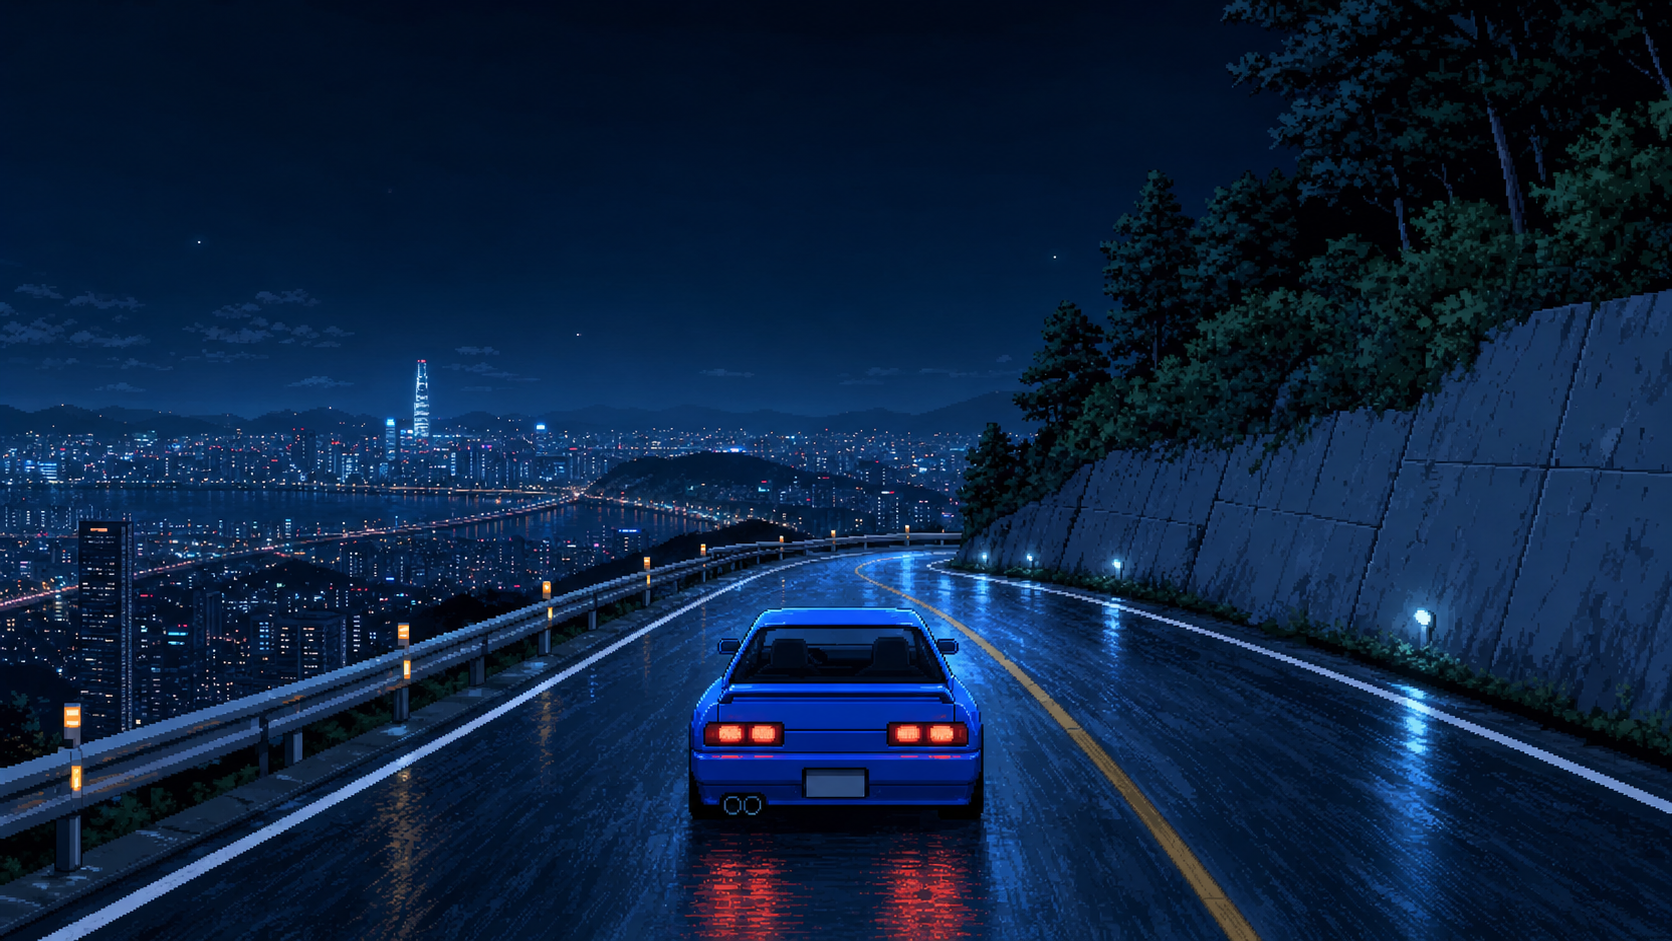
지난 글에서는 Apex Seoul에 Bugak Ridge Downhill 코스를 만들고, 도로 고저차와 차량 그림자를 넣었다.
도로는 이제 휘고, 오르내리고, 차량은 화면 하단의 기준점에 붙어 있다.
그 다음에는 자연스럽게 차량을 다시 보게 됐다.
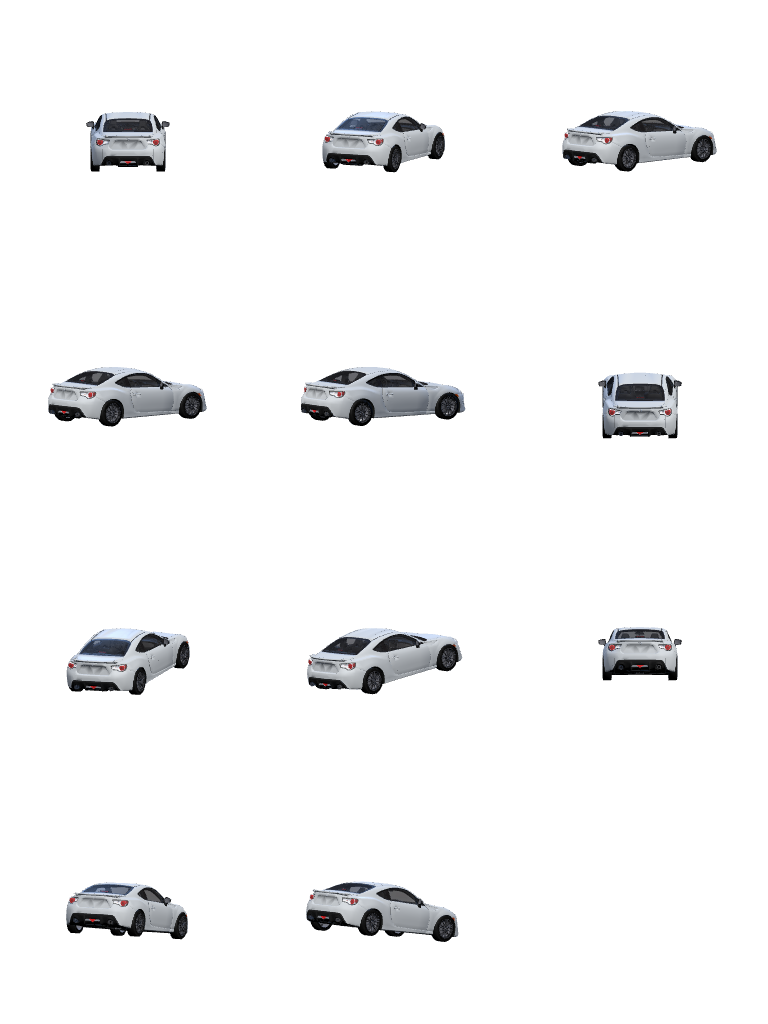
지금까지 플레이어 차량은 Kenney Car Kit의 3D 모델을 임시로 렌더링한 것이었다. 프로토타입에는 충분했지만, Apex Seoul만의 차라고 부르기에는 아직 애매했다.
그래서 이번에는 전용 차량인 Raven Coupe를 만들기 시작했다.
다만 목표는 “그럴듯한 이미지 한 장”이 아니었다.
게임에 넣을 수 있는 스프라이트 자산이 필요했다.
이번 글에서는 다음 흐름을 만들었다.
결과물은 이런 흐름으로 나왔다.
![]()
차량 스프라이트를 프레임마다 따로 생성하면 문제가 생긴다.
첫 번째 프레임은 스포츠 쿠페인데, 두 번째 프레임은 슈퍼카처럼 보이고, 세 번째 프레임은 해치백처럼 보일 수 있다.
이미지 생성 모델은 “같은 차량을 다른 각도로 그려달라”는 요청을 꽤 잘 듣지만, 게임 스프라이트에서는 꽤 잘 듣는 정도로는 부족하다.
프레임 간에 다음 요소가 유지되어야 한다.
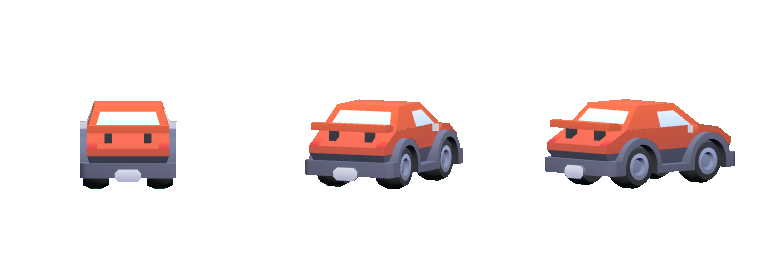
그래서 먼저 3D 모델로 pose sheet를 만든다.
cell 1: center rear view
cell 2: rear-right steering angle, moderate
cell 3: rear-right steering angle, strong
왼쪽 방향은 따로 만들지 않는다.
게임 런타임에서는 오른쪽 원본을 flipX해서 왼쪽 조향 상태로 재사용한다.
steer-left-2  = flipX(steer-right-2)
steer-left-1  = flipX(steer-right-1)
center        = center
steer-right-1 = steer-right-1
steer-right-2 = steer-right-2
이렇게 하면 원본 스프라이트 3장으로 5단계 조향 상태를 만들 수 있다.
처음에는 Kenney Car Kit의 race-future.glb를 사용했다.
기존 임시 플레이어 차량에서 쓰던 모델이라 자연스럽게 이어서 썼다.
하지만 Raven Coupe의 의도는 달랐다.
Raven Coupe는 FT86풍 compact FR coupe 느낌의 입문형 NA 차량으로 잡고 있었다. 실제 브랜드나 차종을 복제하려는 것은 아니지만, 적어도 낮고 짧은 2도어 driver car의 분위기는 필요했다.
그런데 race-future.glb는 이름 그대로 너무 미래형이었다.
텍스트 prompt에 “FT86-style compact driver car”라고 써도, 입력 이미지의 실루엣이 미래형이면 결과도 그쪽으로 끌려갔다.
그래서 source pose model을 sedan-sports.glb로 바꿨다.
완벽한 쿠페는 아니지만, race-future보다는 Raven Coupe의 방향에 가까웠다.
현재 3D pose sheet는 이렇게 생겼다.
JSON도 같은 정보를 가진다.
{
  "cellSize": 256,
  "columns": 3,
  "model": "sedan-sports",
  "poses": [
    {
      "id": "center",
      "rearAngleDeg": 0
    },
    {
      "id": "steer-right-1",
      "rearAngleDeg": 24
    },
    {
      "id": "steer-right-2",
      "rearAngleDeg": 44
    }
  ],
  "sourceModel": "assets/vehicles/kenney-car-kit/Models/GLB format/sedan-sports.glb",
  "vehicleId": "raven-coupe"
}
중요한 것은 steer-right-1과 steer-right-2의 각도 차이다.
처음에는 두 프레임의 차이가 너무 작았다. 사람이 보면 약간 다르지만, 픽셀풍 2D 스프라이트로 변환하면 거의 같은 프레임처럼 보였다.
그래서 2D 변환 뒤에도 구분되도록 24도와 44도 정도로 차이를 벌렸다.
기본 변환 프롬프트는 3D pose sheet의 구조를 지키는 쪽에 집중했다.
Transform the attached 3D vehicle pose sheet into a retro arcade racing sprite sheet for a pseudo-3D drift racing game named "Apex Seoul".

Preserve the exact layout, pose order, silhouette, vehicle proportions, camera angle, and per-cell alignment from the input pose sheet.

The three cells are:
1. center rear view
2. rear-right steering angle, moderate
3. rear-right steering angle, strong

Left-facing sprites will be created later with horizontal flipX in the game runtime.
Do not add left-facing frames.

Important pose distinction:
- The second cell and third cell must not look like duplicates.
- The third cell must show more side body, stronger wheel separation, and a more diagonal rear bumper than the second cell.
- Preserve the visible difference between the moderate rear-right angle and the strong rear-right angle.

Target style:
- Outrun inspired retro arcade racing sprite
- crisp pixel-art-like 2D game sprite
- limited color palette
- strong readable silhouette
- clean rear lights, rear window, roofline, bumper, and wheels
- subtle dithering and hard-edged highlights
- transparent background if possible

Do not:
- change the vehicle identity between frames
- change the pose order or grid layout
- add logos, badges, readable text, numbers, or brand marks
- add a scene background
- turn it into a photorealistic 3D render
- invent extra wheels, spoilers, or inconsistent body panels
여기에 Raven Coupe 전용 문구를 붙였다.
Vehicle identity: Raven Coupe, an original fictional lightweight NA rear-wheel-drive compact FR coupe.
It is inspired by the proportions and spirit of an FT86-style compact driver car, but must remain clearly original and not a copy.
Keep it short, agile, beginner-friendly, and grounded: a low two-door compact driver coupe with a long-ish hood, short rear deck, compact cabin, simple rear lights, modest wing, graphite body, and restrained red accents.
It should feel like an affordable street drift coupe rather than a futuristic hypercar, concept car, exotic race car, or sci-fi vehicle.
Avoid wedge-shaped supercar proportions, exposed race-car wheels, jet-like bodywork, glowing future-tech panels, oversized aero, and cyberpunk concept-car details.
No real brand marks, readable text, numbers, or badges.
처음 결과는 꽤 괜찮았지만 몇 가지 문제가 있었다.
그래서 다음 수정 prompt를 추가했다.
Remove the background completely. Transparent background only.
Do not add glow, halo, lighting bloom, ground shadow, or scene lighting behind the car.
Keep brake glow and boost glow out of the base sprite sheet.

Make the body graphite black or dark charcoal, with only restrained red accents.
Do not make the whole car orange or bright red.

Make the Raven Coupe read more like a compact two-door FR driver coupe:
lower roofline, shorter rear deck, cleaner coupe rear glass, less boxy rear body.
Keep the rear wing modest and smaller.
결과는 훨씬 좋아졌다.
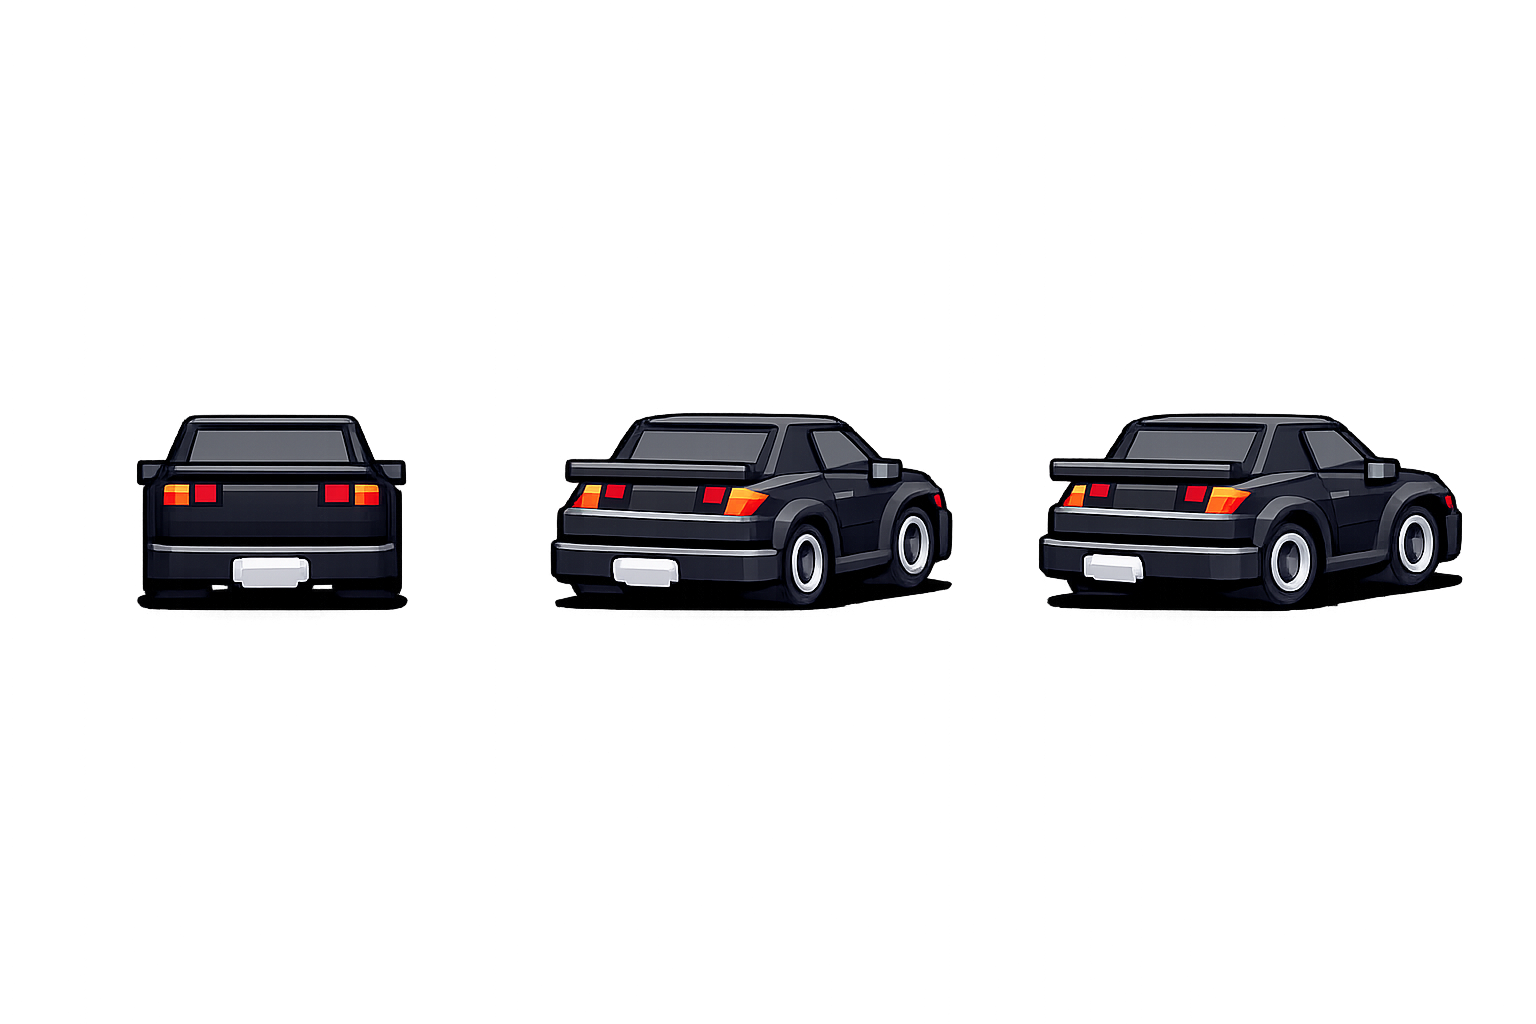
차량 디자인은 이 정도면 프로토타입 후보로 충분했다.
하지만 게임 자산으로는 아직 아니었다.
보기에는 검은 배경 위에 차량만 있는 것처럼 보였다.
하지만 실제로 뜯어보면 문제가 많았다.
게임에서는 이런 차이가 꽤 중요하다.
브라우저에 그냥 보여줄 이미지라면 조금 지저분해도 넘어갈 수 있다. 하지만 sprite atlas에 넣고, 배율을 바꾸고, 도로 위에 합성하면 문제가 드러난다.
특히 alpha 0 픽셀에 숨은 RGB가 남아 있으면 가장자리 색이 이상하게 비칠 수 있다.
그래서 내부 후처리 스크립트를 만들었다.
첫 번째 스크립트는 clean:vehicle-sprite-sheet다.
{
  "clean:vehicle-sprite-sheet": "node scripts/clean-vehicle-sprite-sheet.mjs"
}
실행은 이렇게 한다.
npm run clean:vehicle-sprite-sheet -- \
  --input assets/vehicles/rendered/raven-coupe-sheet-chatgpt-generated.png \
  --output assets/vehicles/generated/img2img-candidates/raven-coupe-cleaned.png \
  --qa assets/vehicles/generated/qa/raven-coupe-cleaned.json
이 스크립트는 셀마다 차량이 있는 연결 성분을 찾는다.
큰 차량 덩어리와 가까운 픽셀만 남기고, 나머지 점선과 stray pixel은 제거한다.
이번 후보의 cleanup QA는 이런 식으로 나왔다.
{
  "cellWidth": 512,
  "cellHeight": 1024,
  "poses": [
    {
      "cell": { "column": 0, "row": 0 },
      "bbox": { "x": 134, "y": 410, "width": 274, "height": 210 },
      "keptPixels": 31867,
      "removedPixels": 18591
    },
    {
      "cell": { "column": 1, "row": 0 },
      "bbox": { "x": 36, "y": 409, "width": 407, "height": 207 },
      "keptPixels": 46832,
      "removedPixels": 23119
    },
    {
      "cell": { "column": 2, "row": 0 },
      "bbox": { "x": 12, "y": 409, "width": 427, "height": 211 },
      "keptPixels": 47688,
      "removedPixels": 24669
    }
  ]
}
여기서 중요한 것은 bbox다.
세 프레임의 높이가 비슷하고, right-1, right-2로 갈수록 bbox 폭이 넓어진다. 즉 각도 차이가 실제 픽셀 데이터에도 살아 있다.
두 번째 스크립트는 finalize:vehicle-sprite-sheet다.
{
  "finalize:vehicle-sprite-sheet": "node scripts/finalize-vehicle-sprite-sheet.mjs"
}
cleanup만으로는 충분하지 않았다.
검사해보니 반투명 alpha가 많았다.
opaque pixels: 126,387
semi-transparent pixels: 53,270
레트로 픽셀풍 차량 스프라이트에는 너무 부드러운 alpha다.
그래서 finalize 단계에서는 다음을 수행했다.
0,0,0,0으로 초기화최종 QA는 이렇게 나왔다.
{
  "alpha": {
    "opaque": 124860,
    "semiTransparent": 0,
    "transparent": 1448004
  },
  "commonBaselineY": 609,
  "removedLowAlphaPixels": 1527,
  "resetTransparentRgbPixels": 1380097,
  "hardenedPixels": 51743
}
이제 반투명 alpha는 0개다.
숨은 RGB도 제거했다.
투명 배경 위에 놓아보면 이런 느낌이다.
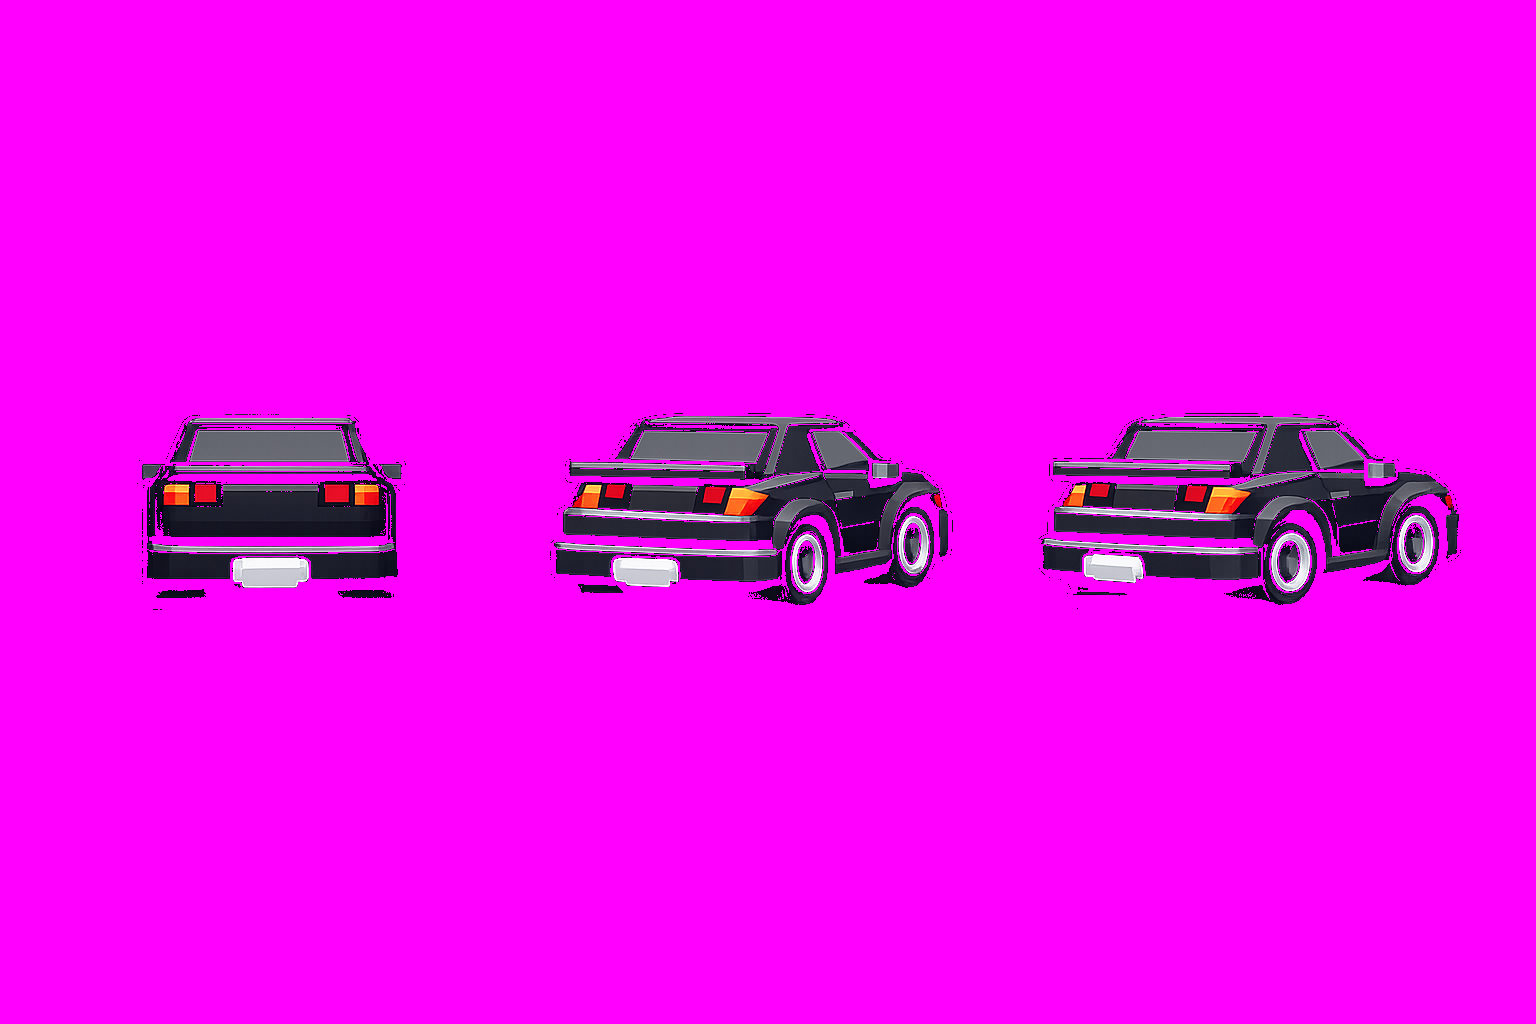
마젠타 배경은 실제 게임에서 쓰려는 색이 아니다.
투명 스프라이트의 가장자리와 남은 픽셀을 확인하려고 일부러 강한 색을 깔았다.
이번에 다시 확인한 것도 있다.
차량 각도가 바뀌면 bbox center도 바뀐다.
{
  "poses": [
    {
      "cell": { "column": 0, "row": 0 },
      "anchor": { "x": 271.5, "y": 609 },
      "drawOffset": { "x": -15, "y": 0 }
    },
    {
      "cell": { "column": 1, "row": 0 },
      "anchor": { "x": 239.5, "y": 604 },
      "drawOffset": { "x": 17, "y": 5 }
    },
    {
      "cell": { "column": 2, "row": 0 },
      "anchor": { "x": 226, "y": 608 },
      "drawOffset": { "x": 30, "y": 1 }
    }
  ]
}
중앙 프레임의 anchor x는 271.5지만, 강한 오른쪽 프레임은 226이다.
이 값을 그대로 차량 위치로 쓰면 조향할 때 차가 좌우로 튈 수 있다.
그래서 런타임에서는 bbox center를 직접 anchor로 쓰지 않고, 공통 baseline과 draw offset을 함께 사용해야 한다.
이번 QA에서는 commonBaselineY를 609로 계산했다.
세 원본 pose가 같은 도로 접지선 위에 놓이도록 맞추기 위한 기준값이다.
차량 아래 그림자는 아직 완전히 제거하지 않았다.
이유는 단순하다.
그림자와 타이어, 하단 범퍼가 붙어 있다.
자동으로 그림자를 지우려고 하면 타이어 하단이나 차체 어두운 부분까지 같이 날아갈 위험이 있다.
그래서 현재 판단은 이렇다.
문서상으로도 그림자는 overlay 또는 런타임 그림자로 분리하는 방향을 유지한다.
이번 작업을 하면서 AI 이미지 생성의 위치가 조금 더 분명해졌다.
AI가 바로 최종 게임 자산을 뽑아주는 것은 아니다.
하지만 좋은 후보를 빠르게 만든다.
중요한 것은 그 다음이다.
즉 AI 이미지는 “완성품”이라기보다 “강력한 초안 생성기”에 가깝다.
게임 개발에서는 그 초안을 런타임이 다룰 수 있는 데이터로 길들이는 과정이 필요하다.
이번 Raven Coupe는 아직 최종 차량은 아니다.
하지만 이제 Apex Seoul에는 전용 차량을 만들 수 있는 첫 번째 파이프라인이 생겼다.
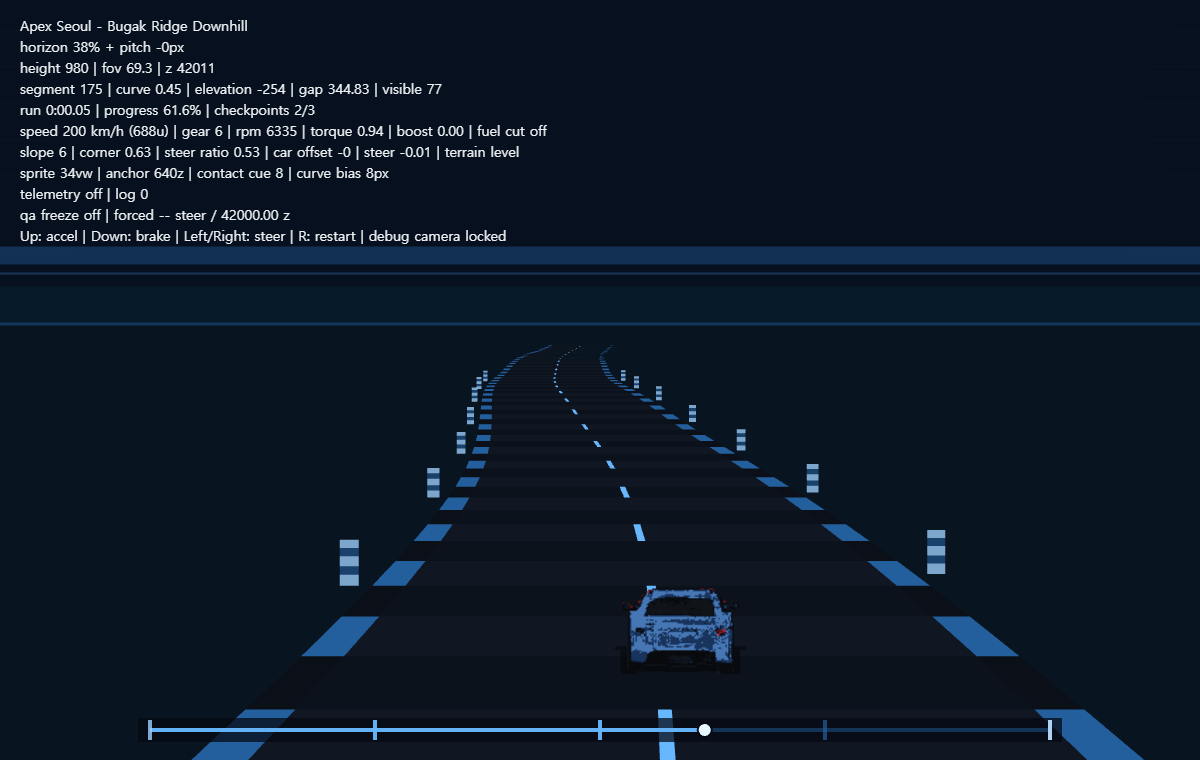
다음 단계에서는 이 finalized sprite sheet를 실제 Phaser 런타임에 연결하고, center, steer-right-1, steer-right-2, 그리고 flipX로 만든 왼쪽 상태가 도로 위에서 자연스럽게 전환되는지 확인할 예정이다.
Apex Seoul의 approved 128px 차량 스프라이트를 런타임에 연결하고, 조향 3way, 고저차 접지감, 주행 telemetry, silhouette shadow pass로 실제 게임 화면에서 검증했습니다.
Apex Seoul 차량 스프라이트 품질을 올리기 위해 GT86, Kia Stinger, Genesis G70 3D 모델을 source로 가져와 실제 전장 기준으로 정렬하고, 후처리 자동화 방향을 다시 잡았습니다.
Apex Seoul의 밤 다운힐 비주얼을 왼쪽 절벽·가드레일, 오른쪽 옹벽·수목 구조로 재정리하고, 가드레일 충돌, 저속 조향 pose, standing start 파워밴드까지 주행 로그와 자동 QA로 다시 맞췄습니다.
Apex Seoul에서 200km/h grip 주행이 너무 쉽게 느껴진 이유를 주행 로그로 분해하고, 코스 곡률을 바꾸지 않은 채 하향 코너 속도 예산·understeer·안전 여유 비용·자동 검증으로 다운힐의 선택을 만들었습니다.
Apex Seoul에 스페이스 브레이크 기반 드리프트와 카운터 스티어를 넣고, 입력을 놓았을 때의 복귀·전환을 별도 상태로 분리했습니다. 주행 로그와 자동 시나리오로 감각을 수치화하며, 스핀은 아직 구현하지 않기로 한 이유도 정리합니다.
Apex Seoul을 한 번 내려오는 다운힐 런으로 정리하고, 고속 조향과 코너 감속을 실제 주행 로그로 다시 튜닝한 뒤, FT86 기반 Raven Coupe에 NA 고회전 RPM, 기어, 토크 곡선, fuel cut 상태를 붙였습니다.